This guide assumes you have already connected your database with Quill. If you
haven’t done that yet, check out our onboarding guide
here.
1. Create a virtual table
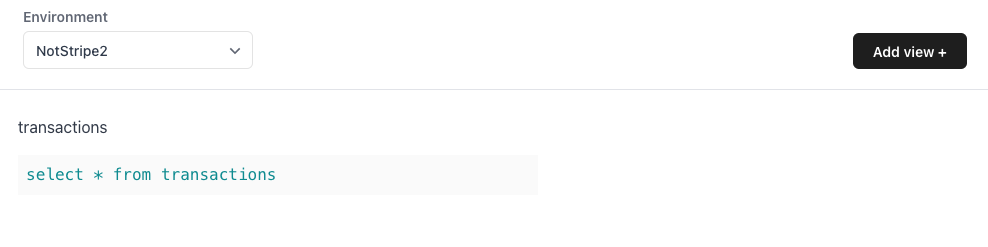
To add a new SQL virtual table, you can clickAdd virtual table + to open a SQL Editor that shows the visible tables that Quill can see in your schema.
2. Edit the virtual table and save
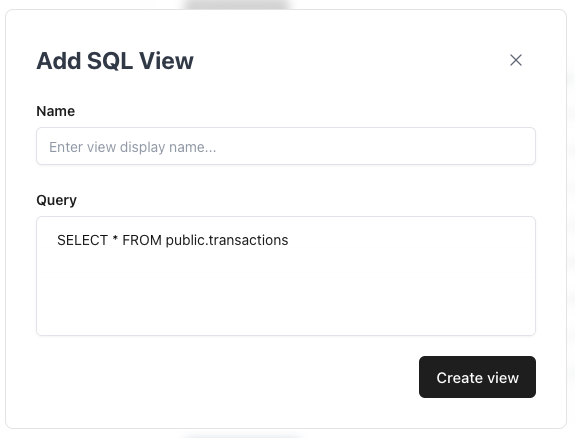
Go ahead and write some SQL for a new virtual table that you would like to create. Run the query by clickingRun Query and make sure the data looks correct.
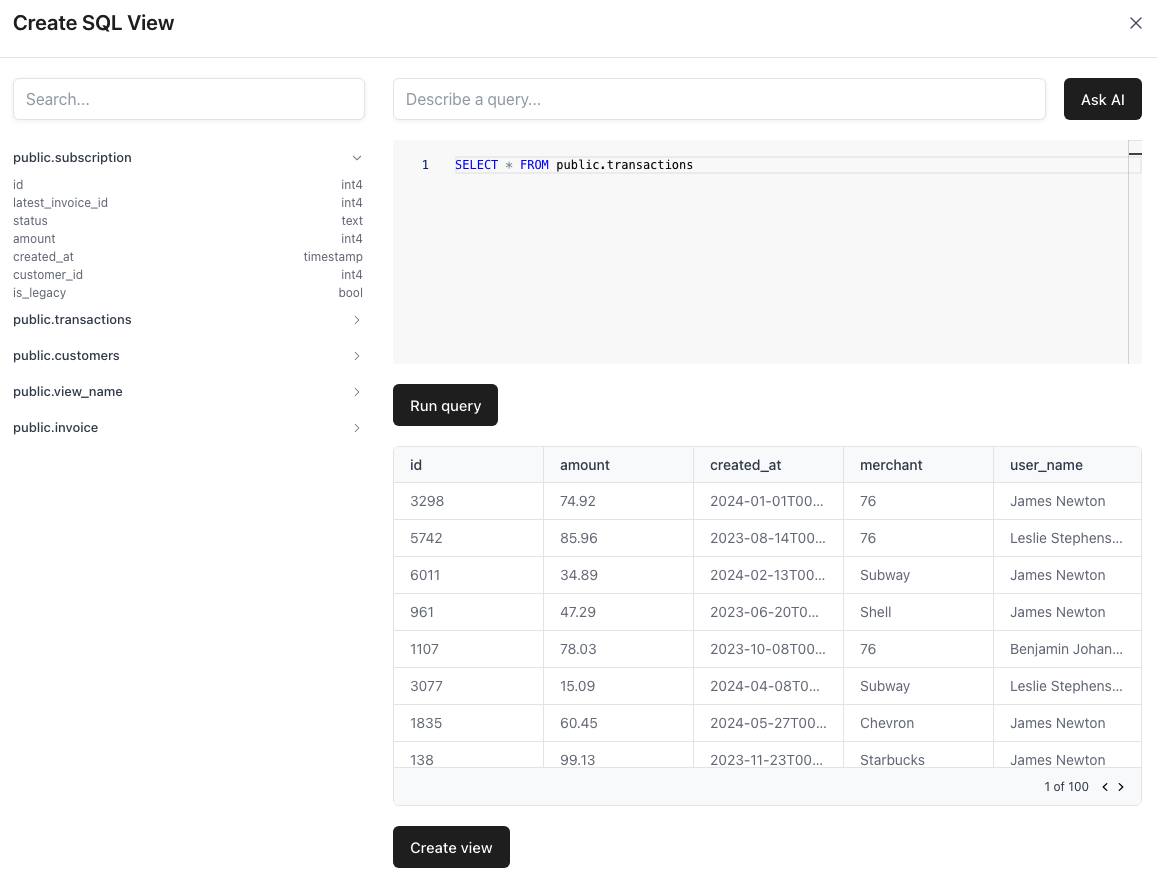
Create virtual table to add the virtual table to Quill. You can now query data from that virtual table in charts and dashboards.
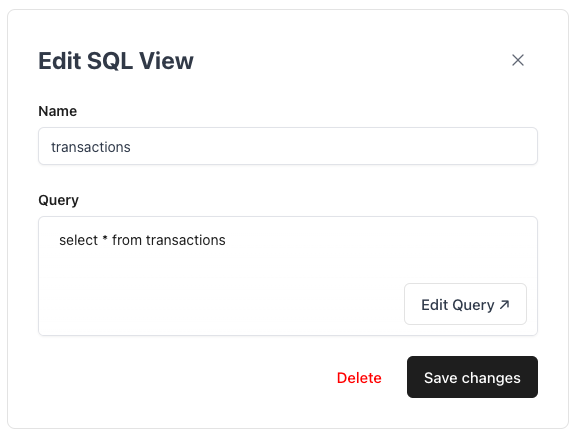
3. Manage your virtual tables
If you ever want to edit or delete an existing virtual table, click on the virtual table in the SQL virtual tables list to open the virtual table manager.